Finally. I’d been waiting for weeks for an evening that would provide decent enough conditions for me to attempt my first imaging session with my new telescope, camera, and mount. Between clouds and smoke from forest fires, I’d been stymied for quite some time, but last Thursday evening finally presented clear skies and a little dark time before the moon rose so I could set everything up and try some long-exposure imaging of deep sky objects.
Disclaimer: As I write this, I am an astro imaging newbie. While I’ve done quite a bit of reading and studying, I’m still figuring things out. While I hope that other newbies will be able to learn something from this post, more experienced imagers may find errors in my procedure or my thinking. If you have some suggestions or corrections, please put them in a comment at the bottom of the post.
Preliminaries
Before we get too far, let me describe for you the hardware and software lineup I’m currently using.
Hardware:
- Sky Watcher Esprit 100 mm APO refractor
- iOptron GEM45 mount (including the iPolar camera) and tripod
- Canon EOS 250D (SL3) cropped-sensor camera, unmodified
- A Windows 10 laptop
Software:
- iOptron Commander (ASCOM driver for the iOptron mount)
- iPolar software for polar aligning the iOptron mount
- Stellarium 0.20.2 for pointing the telescope
- Backyard EOS (premium edition) for controlling the camera and telescope
- Astrometric STAcking Program (ASTAP) for plate solving via Backyard EOS
- Deep Sky Stacker for combining the images taken of a particular target
- Affinity Photo for post-processing the images
My objective for this first imaging session wasn’t so much to capture a lot of data, but rather to get some experience with all the moving parts listed above–especially all the different software components, which need to work together. So any decent data I could collect would be icing on the cake.
Setting Up
I’m not going to bore you with a lot of details on setting up all this equipment, but I will call out a few highlights. There is nothing to know about setting up the telescope and mount beyond what’s already documented in their respective manuals. You need to make sure you balance the telescope (and camera and other accessories) on the mount, of course, and accurate polar alignment is important. I truly love the iPolar capability built into my GEM45 mount. With a view of the sky in the vicinity of Polaris, iPolar makes it pretty easy to get a great polar alignment.
It’s worth noting that I didn’t even bother to mount the finder scope on my main scope, and I never once during the evening actually used an eyepiece. From start to finish, my camera was connected to the telescope and I used the images collected by the camera exclusively for pointing, focusing, etc. And while I had my handpad connected to the telescope mount, I didn’t really use it at all. I could have easily just left it disconnected–anything I would have needed the handpad for was also doable using the iOptron Commander software running on the laptop.
I should mention that I actually attached a small USB hub to one of my tripod legs. I plug the mount, DSLR camera, and iPolar camera into that hub and then run a single cable from the hub to my laptop. That greatly simplifies cable management. I still have room to plug a guiding camera into the hub, too, when it comes time to add automated guiding to the setup.
The very important next step was to focus the camera so subsequent images would show pinpoint stars. Backyard EOS has tools for helping with this, but the main tool is simply the ability to see the camera’s output in live view on the laptop screen. This was a great aid in getting the camera focus as good as possible. Live View is basically an essential capability for any camera that would be used for astro imaging. Without live view, focusing is an iterative trial-and-error process of capturing an image, evaluating the focus, correcting the focus, and then capturing another image to see whether it has improved. With Backyard EOS able to show you what the camera sees in real time, you can very quickly close in on an acceptable focus. Backyard EOS also shows some metrics (like a calculated full-width half-maximum value) that can indicate when the best focus has been achieved.
One thing I did not do during setup was perform a mount alignment (using a one-, two-, or three-star alignment process). The mount is already roughly aligned once it’s been polar aligned (assuming you’ve entered the correct latitude, longitude, date, and time into the handpad, and you’ve set the mount to its zero position–straight up and down, pointed at the north celestial pole). I planned to use the plate-solving capability built into Backyard EOS (with ASTAP) to precisely center the telescope on my target object.
For those unfamiliar, plate solving is a capability that takes an image of the night sky and determines the celestial coordinates of the center of the image by comparing the stars in the image to a celestial database. I used plate solving to center my target by first instructing the mount to slew to my desired target. Since the mount hadn’t really been aligned yet, the mount would only slew to somewhere in the vicinity of the target. Then an image was taken through the telescope and then fed to the plate-solving software, to determine where it was actually pointed. The position of the telescope could then be automatically adjusted to center the desired target. This capability is built into the premium edition of the Backyard EOS software. It works great and eliminates the need to do a three-star alignment on the mount, which can be a bit tedious.
I used Stellarium, connected to my telescope mount, to slew the mount to my target. Then I used Backyard EOS to read the coordinates from the mount of where the mount thought it was pointing. After that I told Backyard EOS to center on those coordinates using plate solving. Once the target was centered properly using that procedure, I went back to Stellarium and told it to sync the telescope to the target I had chosen, using the new coordinates. After that, subsequent slews (using Stellarium) of the telescope to other targets resulted in the targets being nicely centered in the field of view. Cool!
I have to admit I was really pleased at how plate solving was able to center my target. This accomplished one of my main objectives for the evening. Now it was time to do some imaging.
Taking Data
Of course, the main objective of an imaging session is to collect images. Before I got too far down that road, I needed to see how well my iOptron mount would track the sky without providing any guiding corrections. So I took a series of images of my first target (M39, an open cluster) of various lengths, from 30 seconds all the way to five minutes, to see how long I could expose an image before the stars started to appear elongated due to mount tracking errors. In my case, three minutes was about the max, but even at 5 minutes you’d have to look closely to see the elongation. In a future session I’ll add guiding using a separate guide scope and camera and guiding software (PHD2), but for the rest of this imaging session I stuck to three-minute exposures.
(Exposure length isn’t determined solely by how long you can accurately track the object, but it’s certainly an important factor. The exposure length is also determined by whether your camera can capture a sufficient amount of data during the exposure. Too short and you don’t capture enough light. Too long and you can capture too much light and saturate the image. Examining the histogram of an image will tell you whether your exposure time is about right. In my case I could have probably used longer exposures, but at least my exposures weren’t too short.)
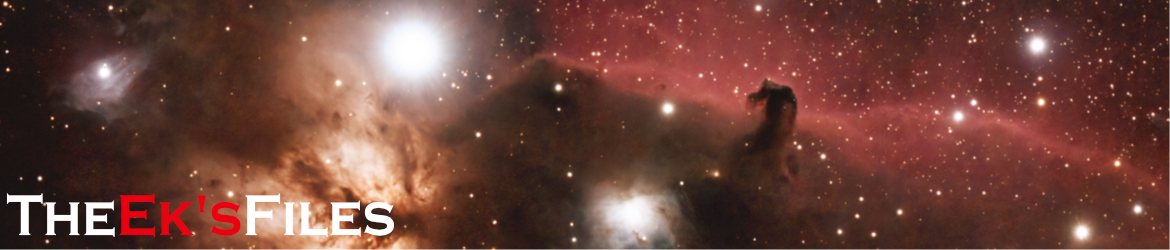
Once I determined the exposure length I could use, I set about collecting data. I used Stellarium to slew to my desired targets (as described above) and then set up Backyard EOS to take ten 3-minute exposures of the target. I managed to get data for M51 (only five exposures because it disappeared behind a tree), M15, and M31 (last because I had to wait for it to rise above the tree that was initially blocking it). Finally, I disconnected the camera from the telescope, but its lens cover on, and set up Backyard EOS to take ten 3-minute dark frames. While it was doing that I started tearing down the rest of the equipment.
Images
Another area in which I’m a newbie is doing the image processing, but I did find a nice guide to processing astro images using Affinity Photo–the Star Gazing Guide to Affinity Photo Astrophotography Image Processing, by Dave Eagle. I’m using Affinity Photo because it’s a much more affordable alternative to Photoshop.
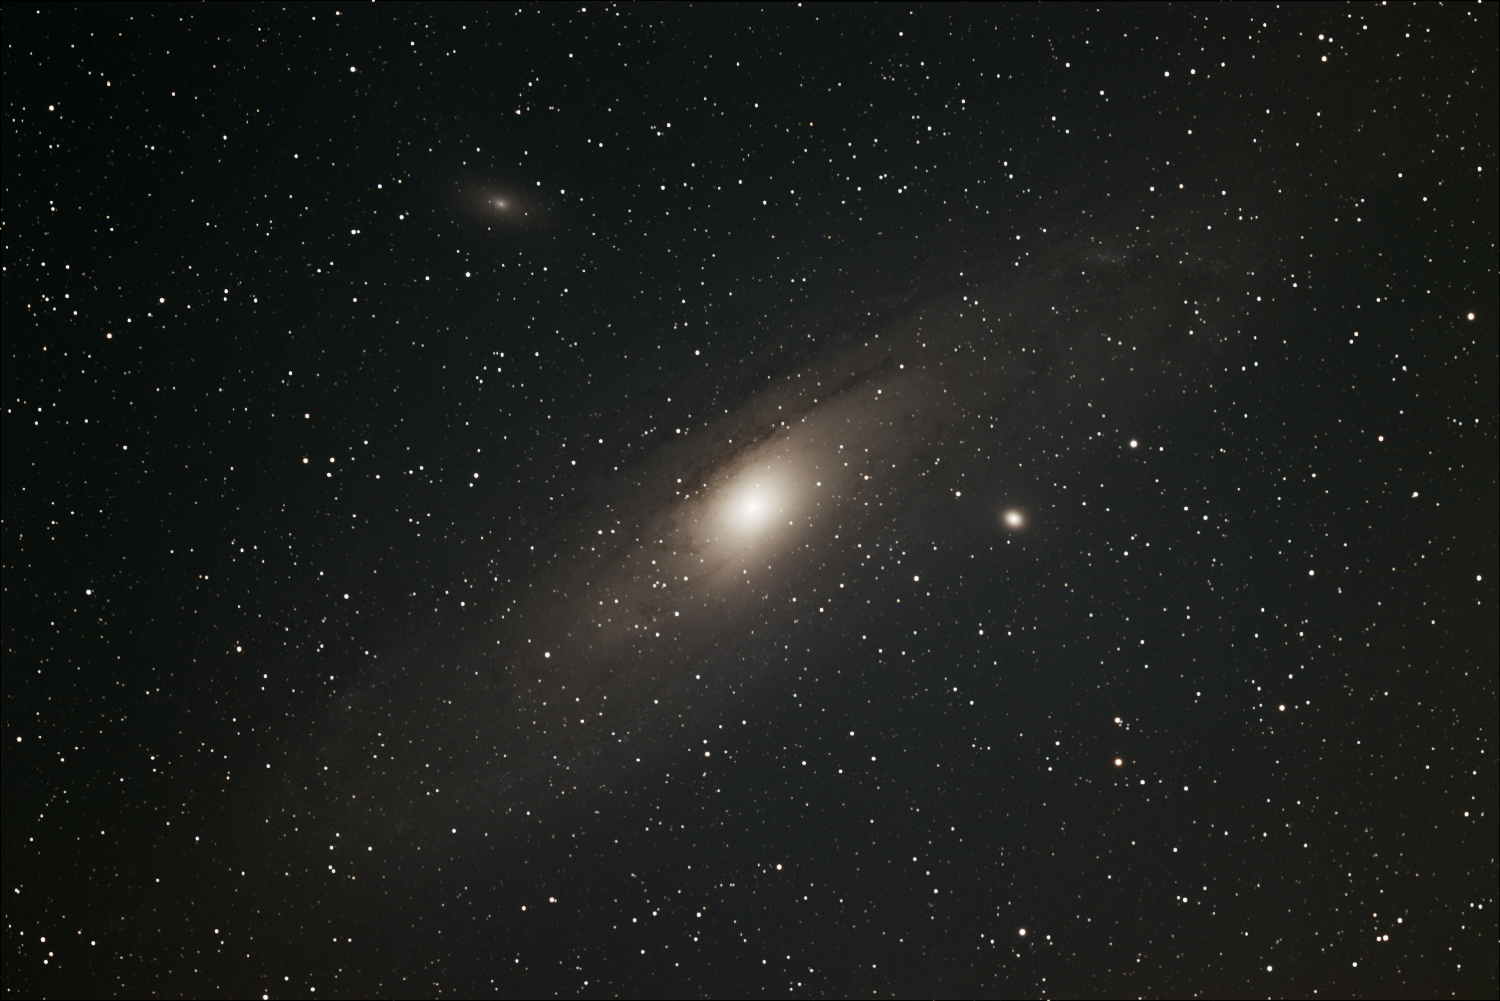
The first thing to do is to use Deep Sky Stacker to stack the multiple exposures (and dark frames) for each target. That produces a TIF file that you can then manipulate using Affinity Photo. There is lots written about using Deep Sky Stacker and about astro image processing in general, so I won’t repeat that here. But just for fun, here is a single exposure taken of M31:
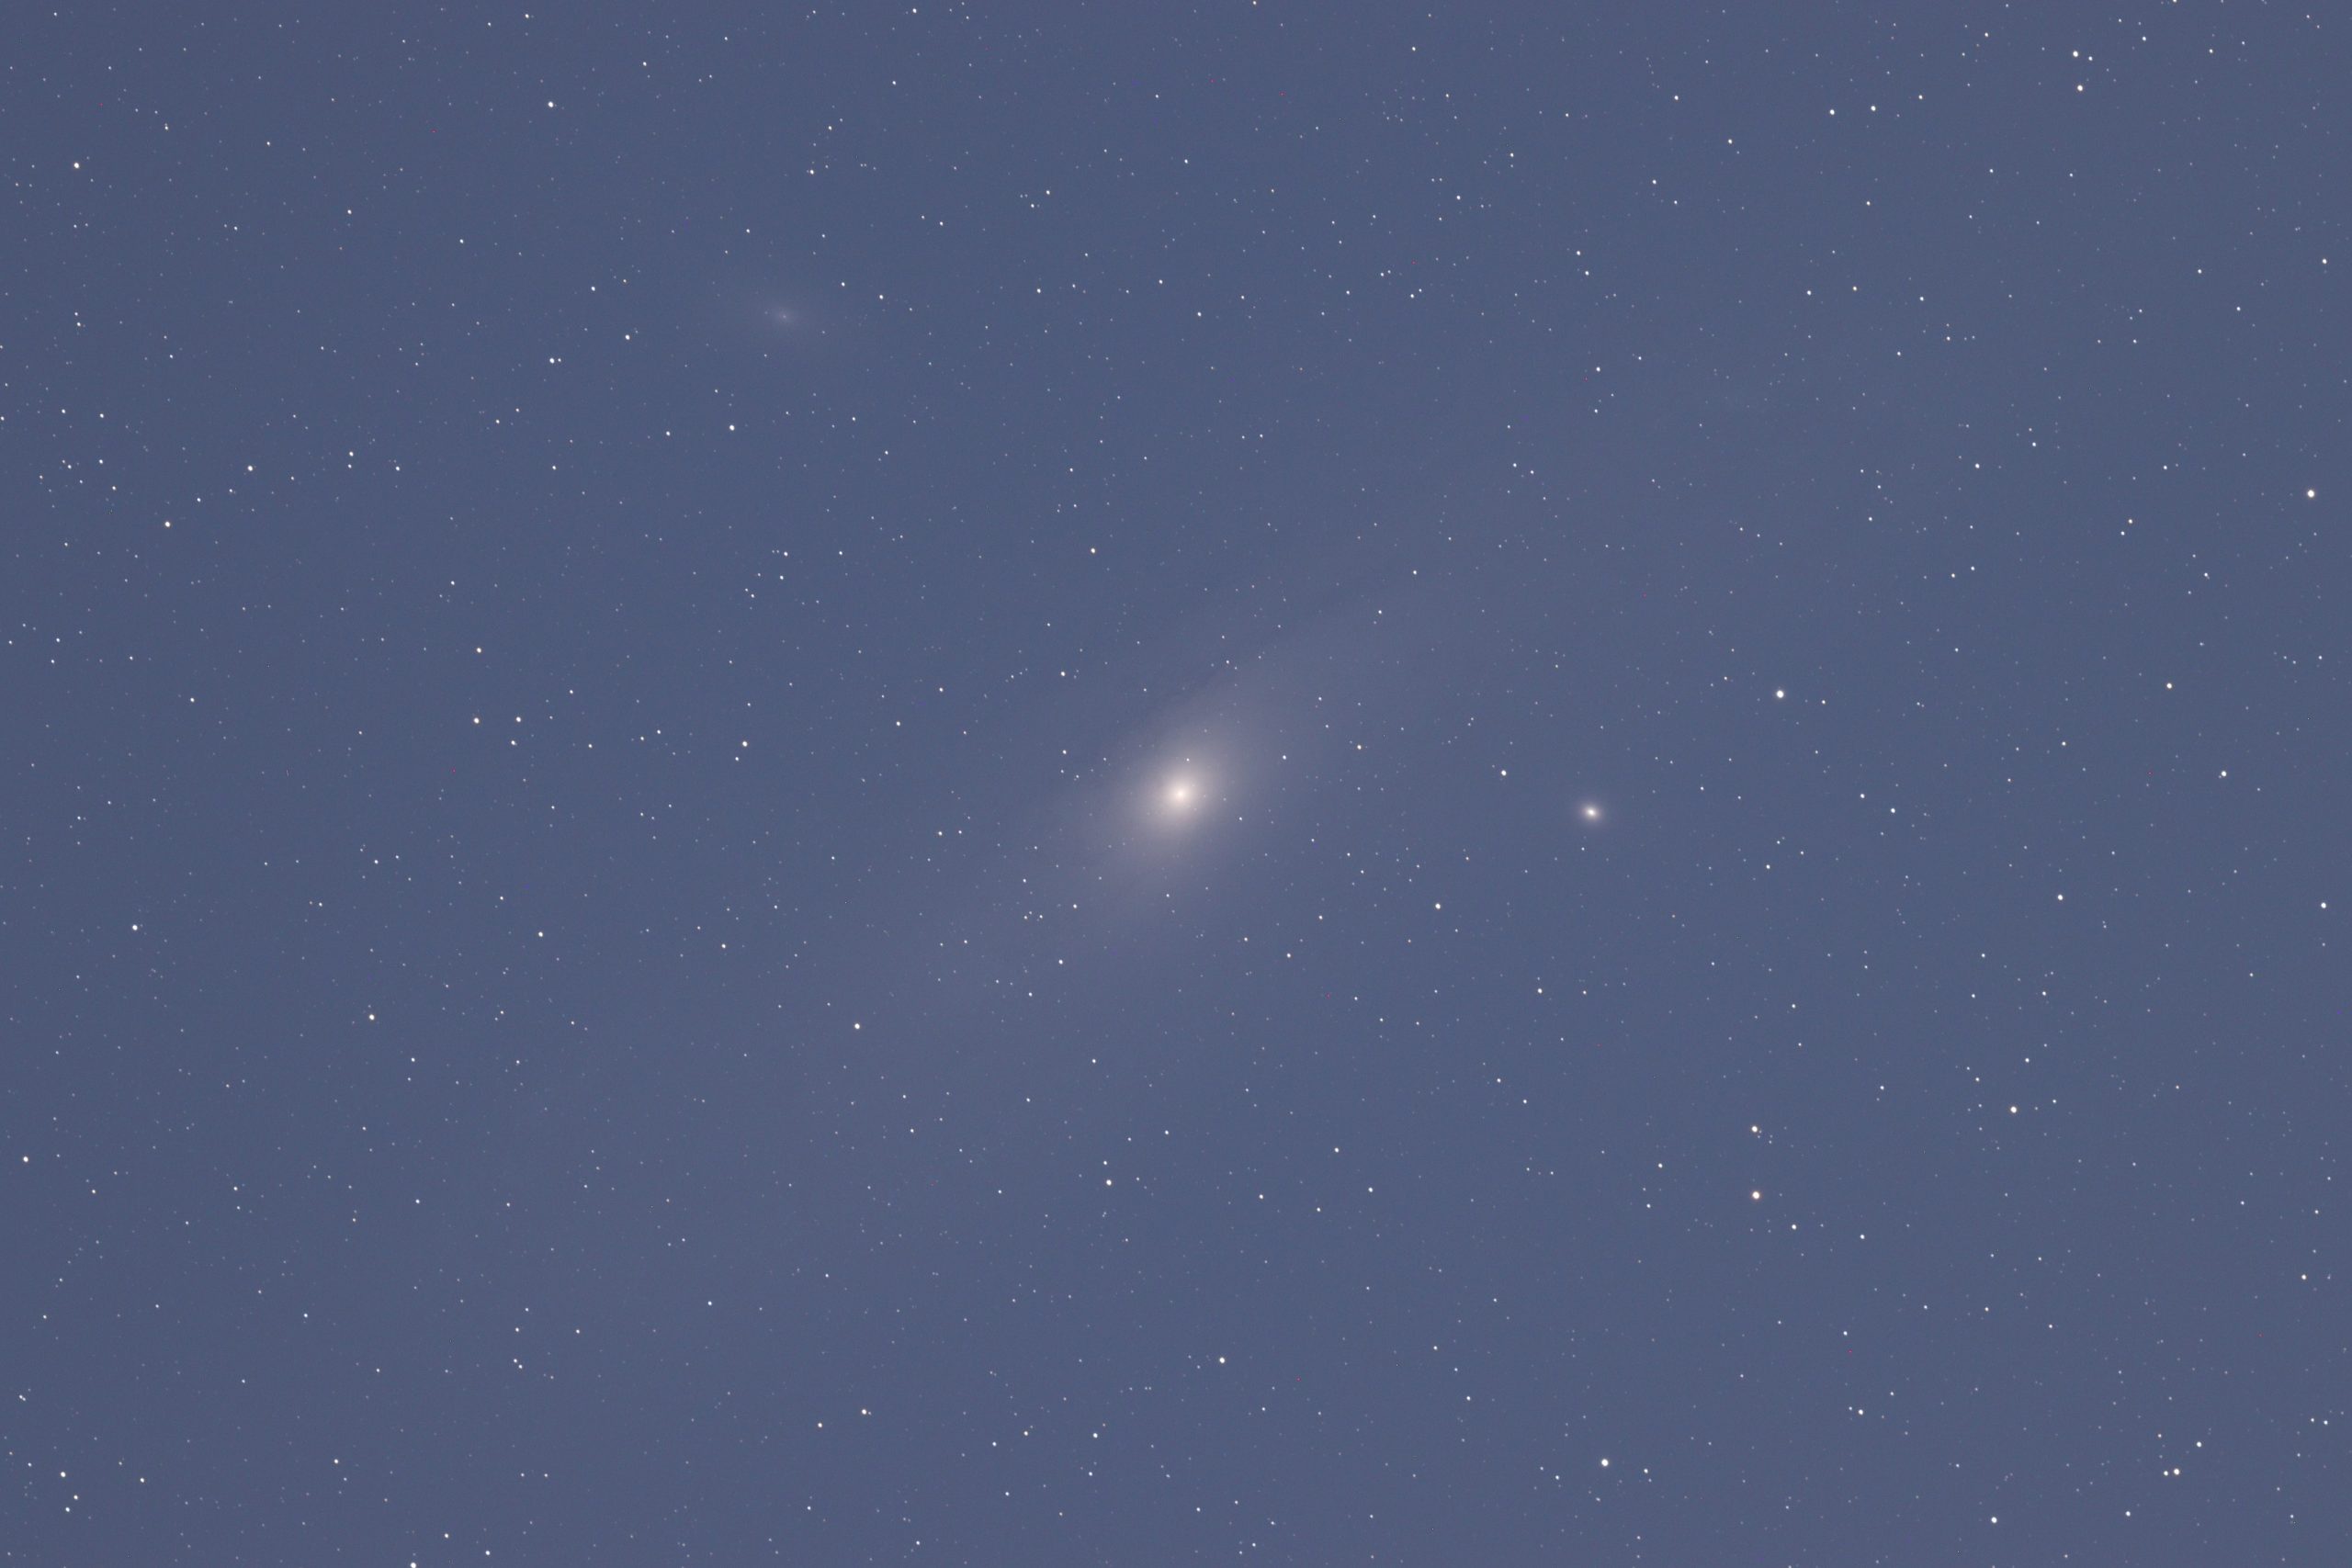
Here is the file that resulted from the stacking process:
And you already saw the final result for M31, at the top of this post.
My other targets were M15 (a globular cluster) and M51( the Whirlpool Galaxy):


There is obviously lots of room for improvement in these images. For one thing, more data would help each of these significantly. Another would be for me to improve my processing skills. But you have to start somewhere.